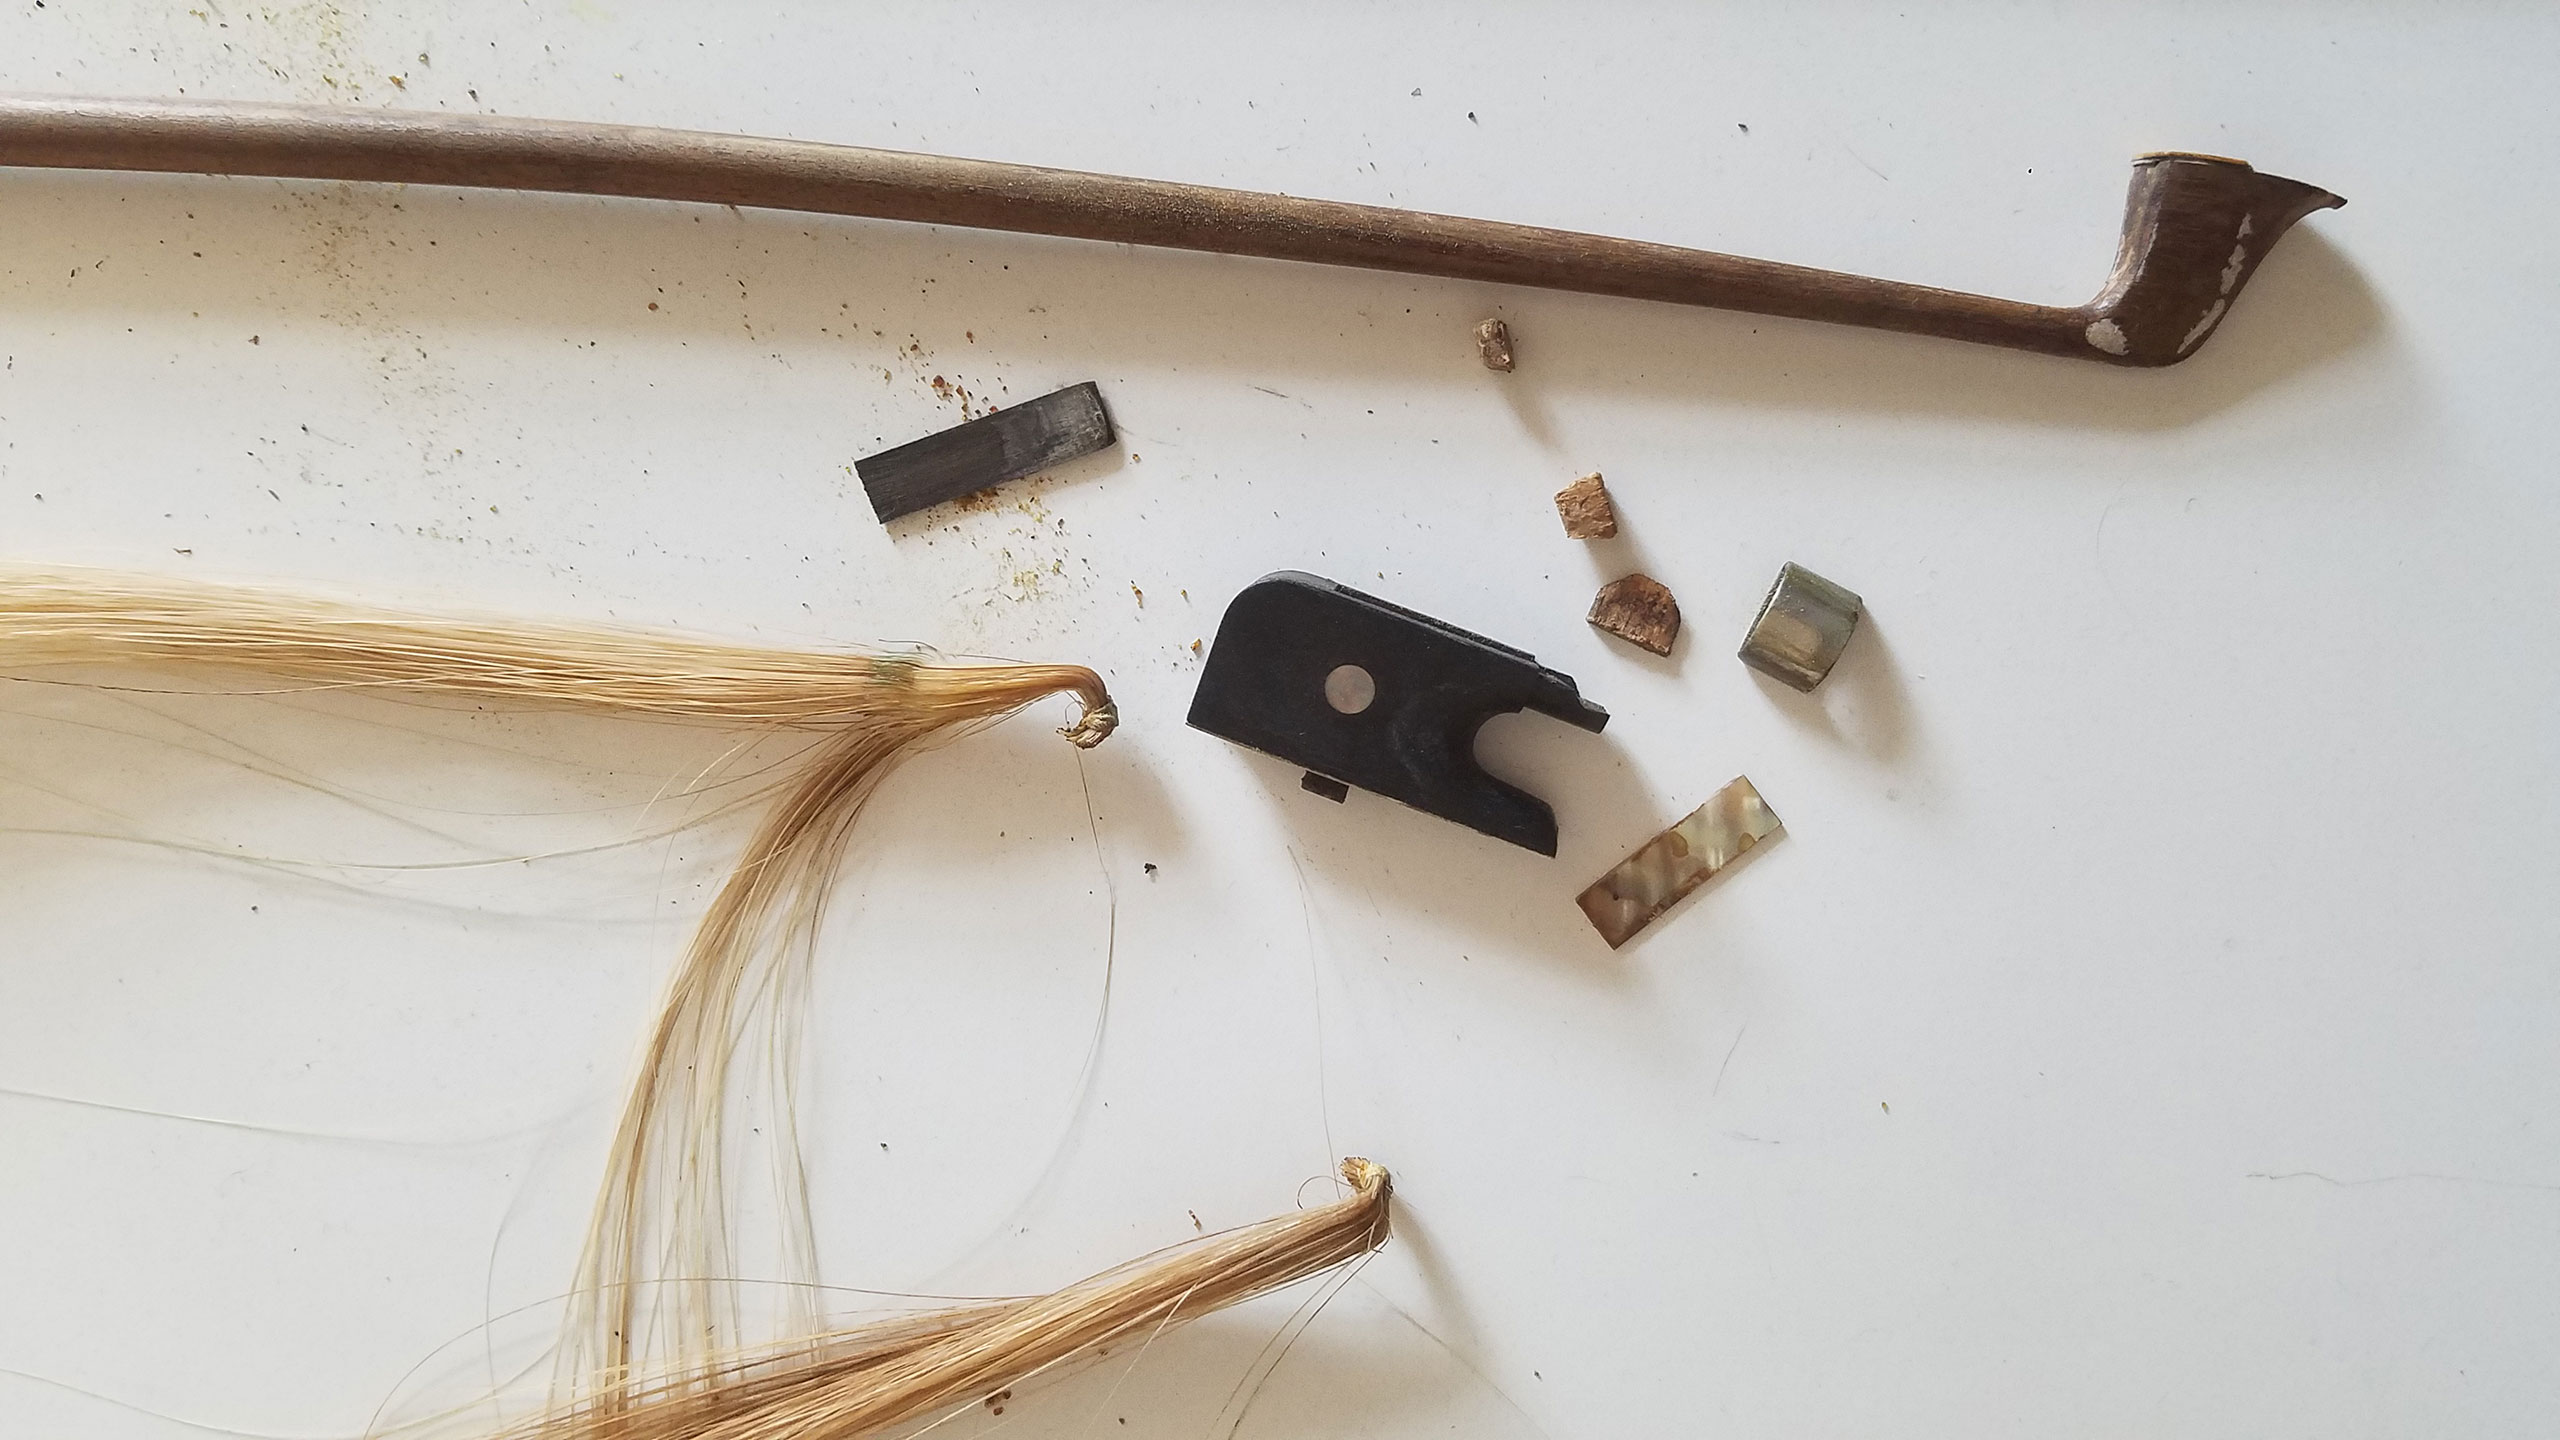
In this blog post, I’d like to share some research I’ve been doing over the past few weeks.
About four years ago, I started learning to play the cello. After initially using a rented instrument, I spent quite some time searching before buying a second-hand cello a month ago.
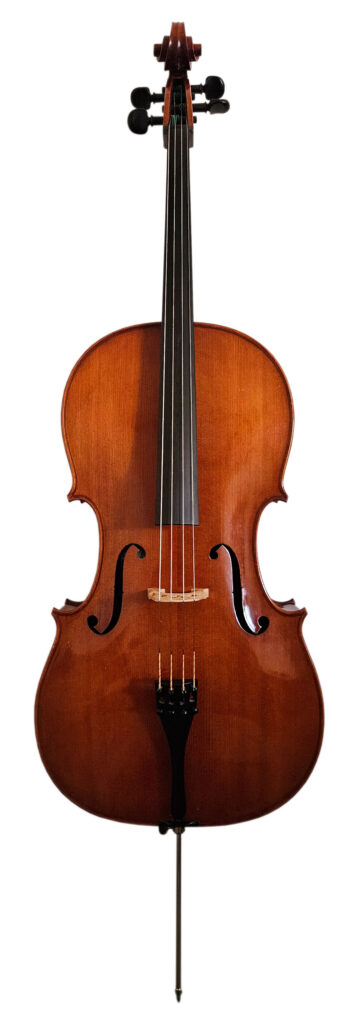
According to its label, it dates from 1962. The idea of playing an instrument with its own history—one that was already part of the world before I was—fascinates me. The label also suggests that it was made in Mantua by the Italian luthier Mario Gadda. He trained under his father, Gaetano Gadda, who in turn studied under the renowned violin maker Stefano Scarampella.
Before anyone starts seeing dollar signs, knowing that Gadda’s master cellos can fetch more than €50,000 at auction, I should mention that two luthiers independently thought mine looked more like a German cello than an Italian one—possibly from Bubenreuth.
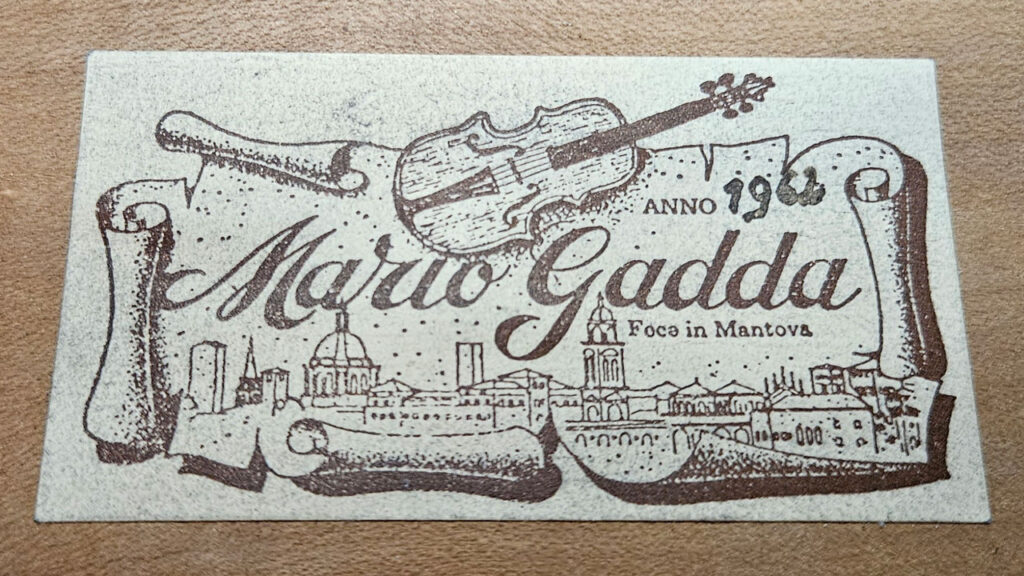
So perhaps it has a false label. Since I knew this before buying it, it doesn’t bother me; it simply makes the cello’s history a little more mysterious. And after all, I fell in love with its sound—very warm and rich in overtones. It also has only a very mild wolf tone on the G string, between E3 and F3. So as long as you play in tune, it doesn’t cause any trouble. On the D string in first position, where I tend to play these notes most often, it doesn’t appear at all. That’s pretty much perfect!
The person I bought it from told me that he, too, had bought it second-hand in Nuremberg in the early 2000s. While the cello had spent several years unplayed but safely protected in its case, the bow had been left on top of a cupboard and was in rather poor condition.
I enjoy working with wood, and over the past few years, my curiosity about the instrument itself has grown alongside my interest in playing it. So I was tempted to make a few small adjustments to the cello’s bridge, which wasn’t standing quite at the right angle. But that seemed a little too risky, so I decided to play it safe and leave it to my trusted luthier.
Since there was clearly little to lose with the bow, though, I took the opportunity to try restoring it myself. If it hadn’t sounded any good afterwards, at least I would have had some fun, learned a few things, and could have used it to experiment on my bass guitar instead of my cello.
First, I watched a few tutorial videos and then researched where to order the materials. Surprisingly, there are plenty of tutorials on YouTube, but sourcing the bow parts wasn’t quite so easy. Many suppliers only sell B2B to professional bow makers. Eventually, though, I found what I needed on this website https://www.dictum.com/en/.
This was my shopping list:
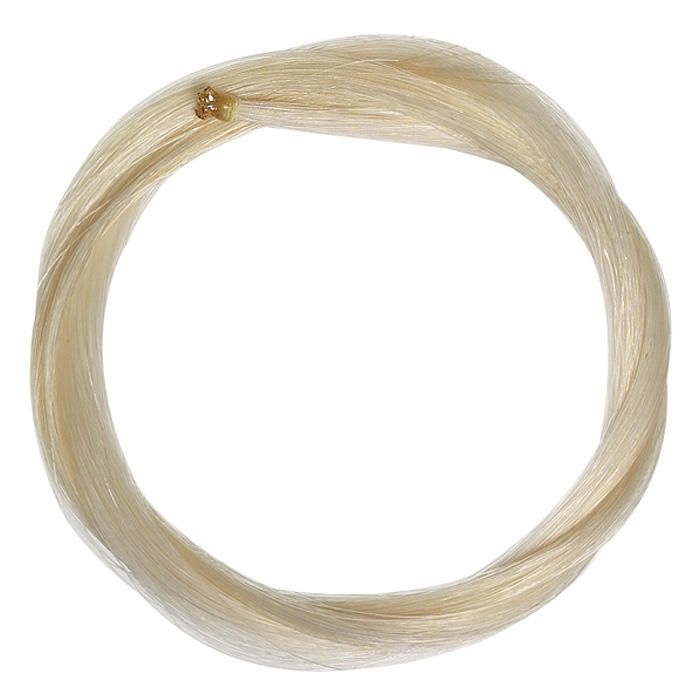

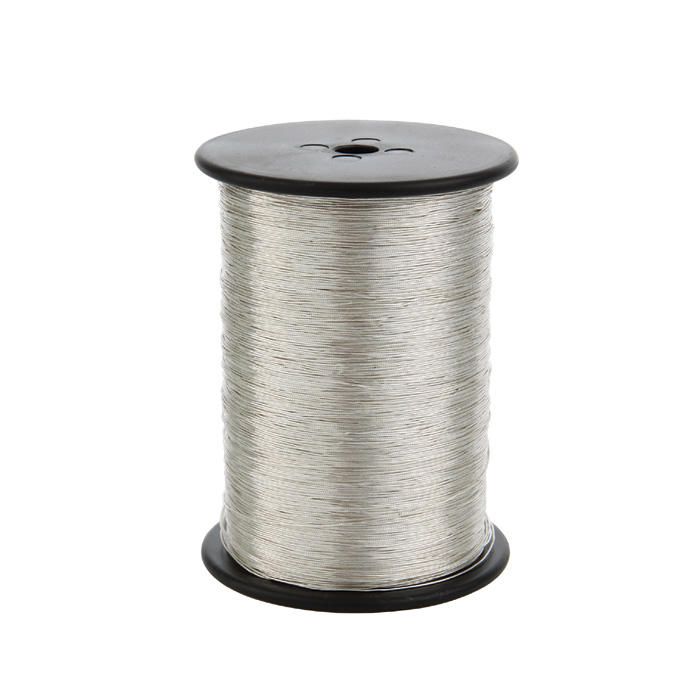
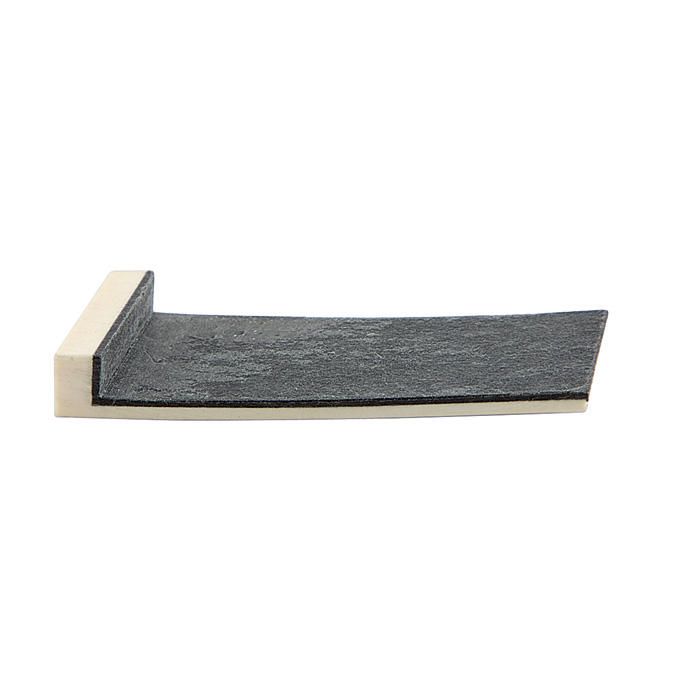
- Mongolian Bow Hair Hank, *** Selection, 73 – 74 cm, 7.5 g – €23.90
- Bow Screw with 3-Part Button, Silver Mounted, Cello – €31.50
- Silver-plated copper wire, 0.25 mm, 100g – €19.80
- Bow Tip, Mammoth Ivory, Fiber-Lined, Cello – €22.90
Some of you may have stumbled over the word “mammoth” in the shopping list. It sounded a little strange to me too. It is indeed real mammoth ivory, recovered in the far north. Since mammoths are extinct, as we all know, I chose this certified material for the bow’s tip plate.
During my research, I found myself thinking quite often about the animal origins of the materials. I’m not a vegetarian, but animal welfare still matters to me. So, apart from the bow hair, I opted for alternatives: no ivory or horn from living animals, and vegan leather for the grip near the frog. I found it here:
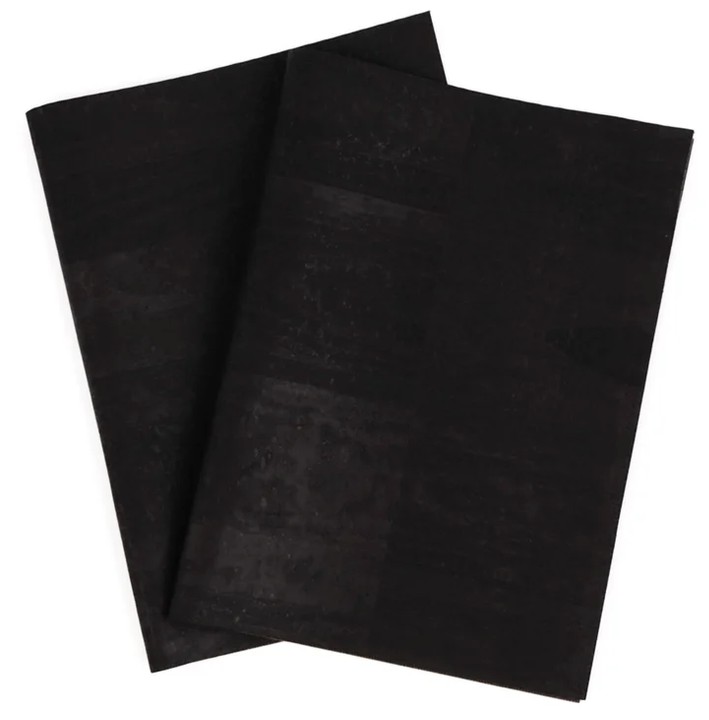
I ordered small pieces of black pineapple leather and cork leather. In the end, I used the cork leather because I liked its look and feel best.
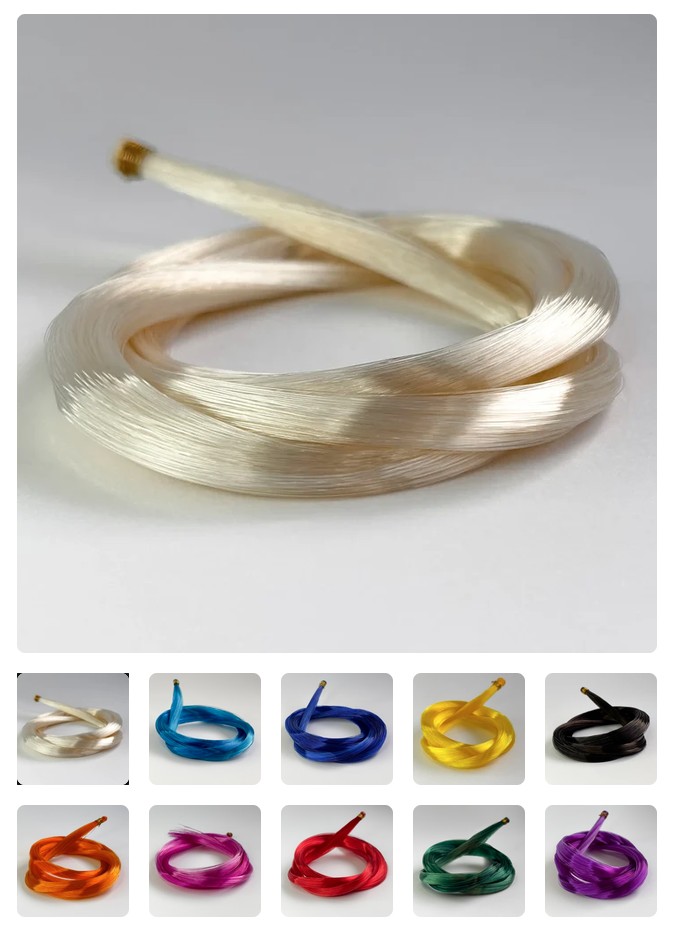
For the bow hair, I stuck with horsehair. If you’re curious about how it is prepared, take a look at this video from SieLam Bow Hair:
Synthetic bow hair is also available as an alternative. You can even brighten up your life by choosing coloured hair for your bow. 😉
And then, finally, it was time to get started! Here are a few photos:
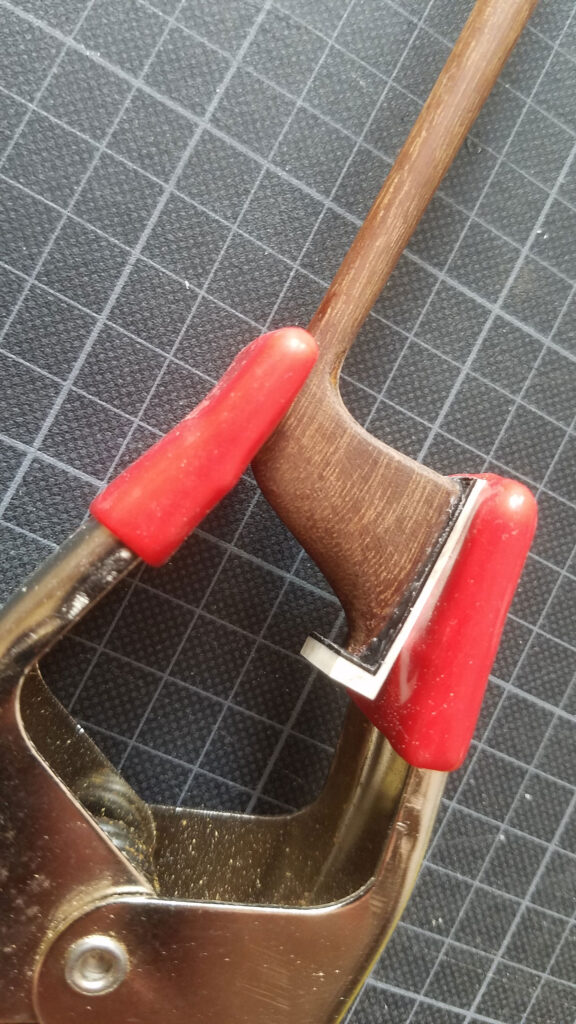
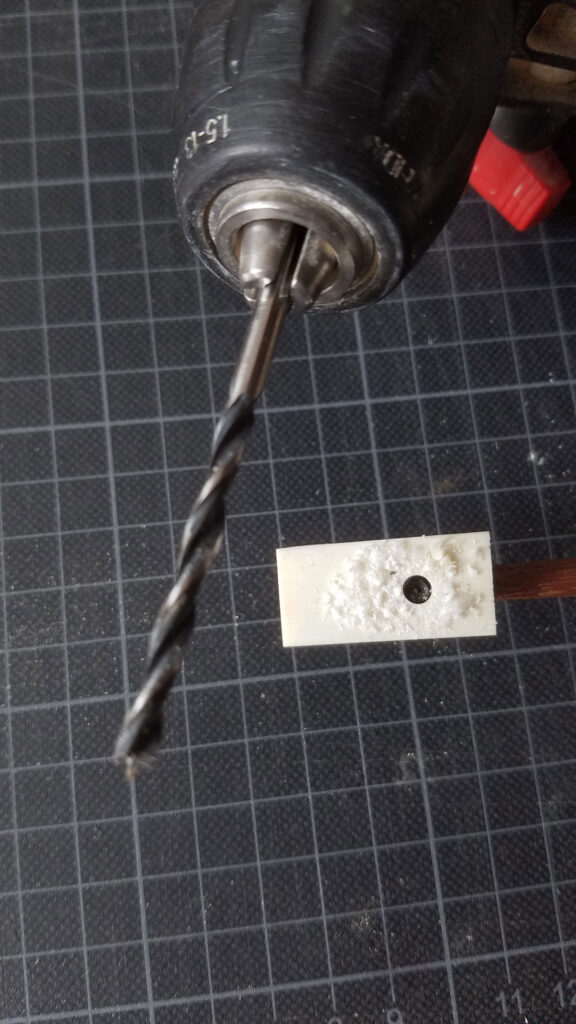
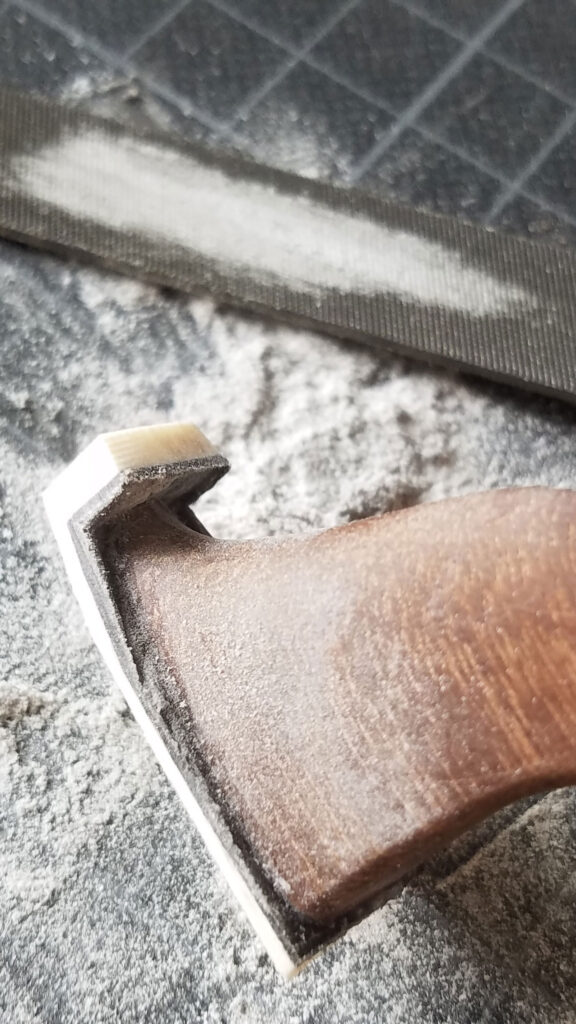
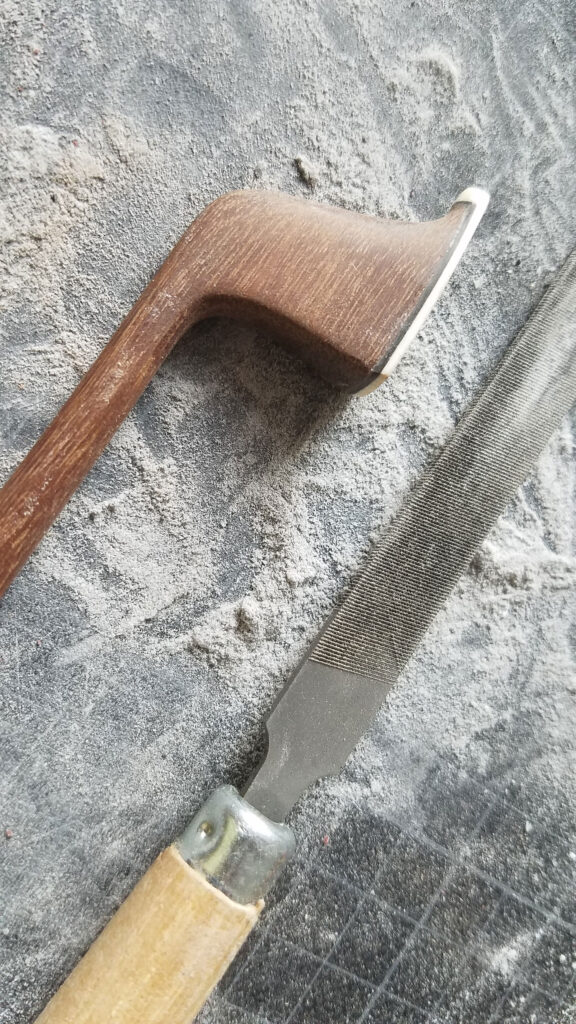
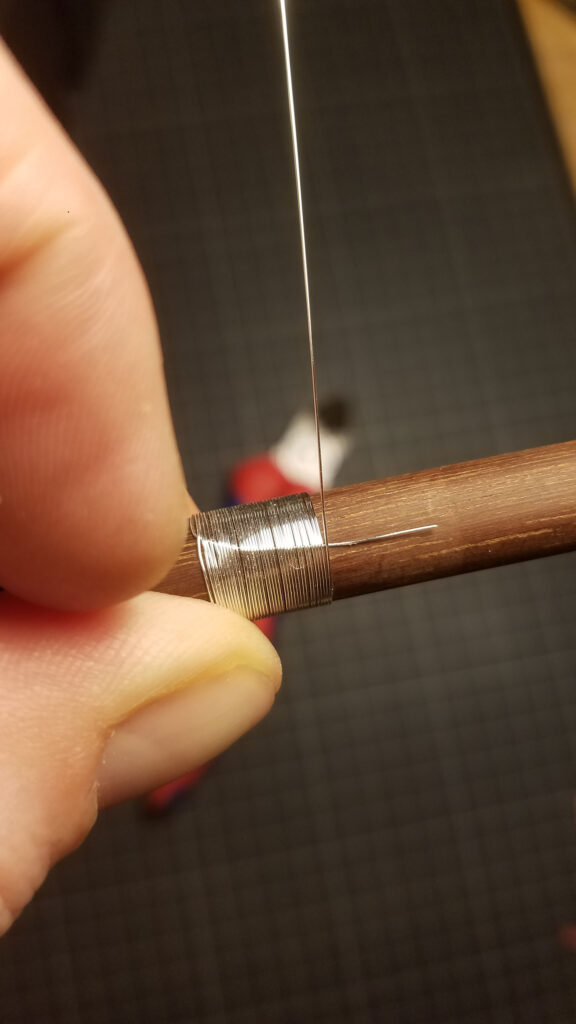
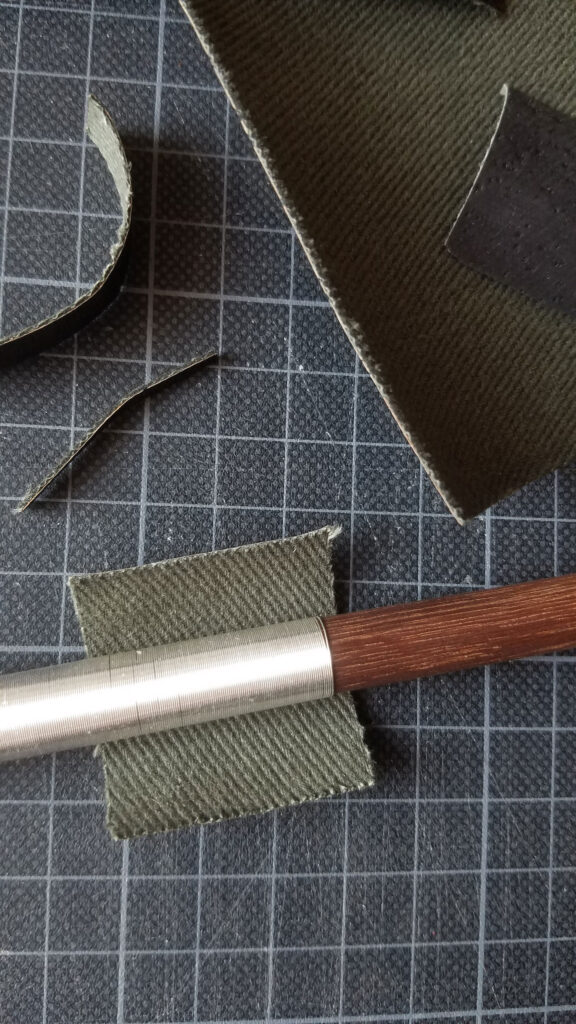
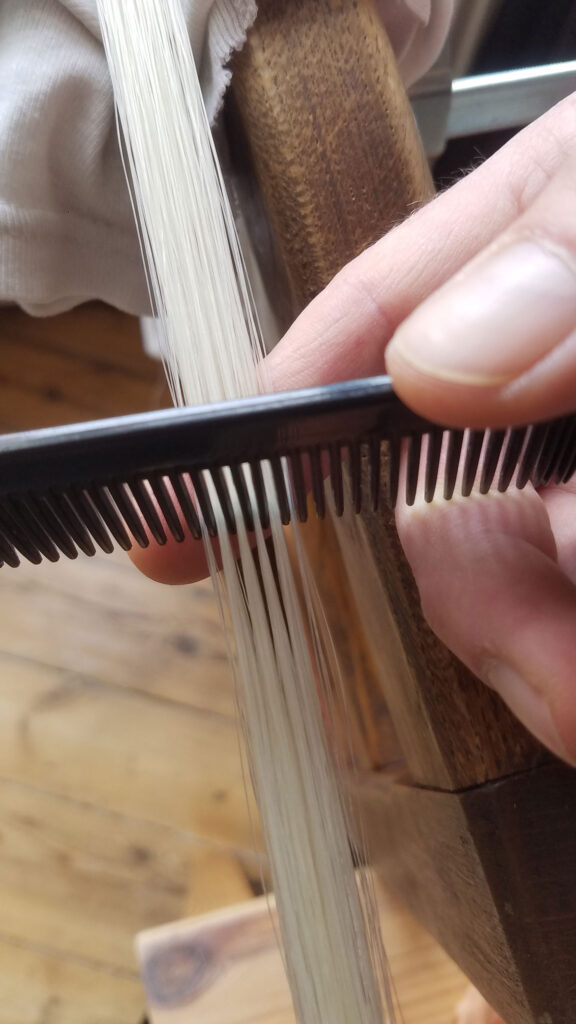
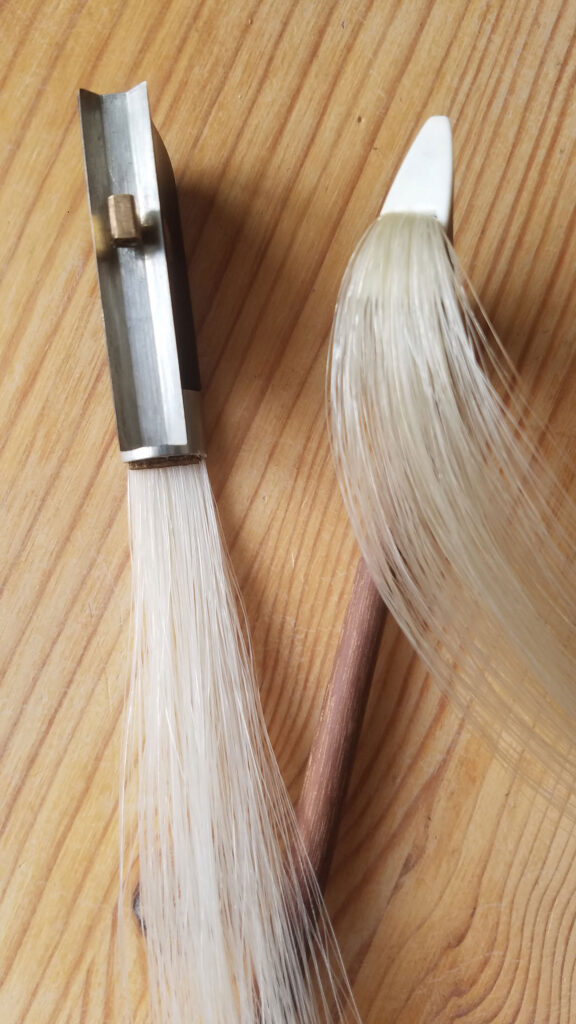
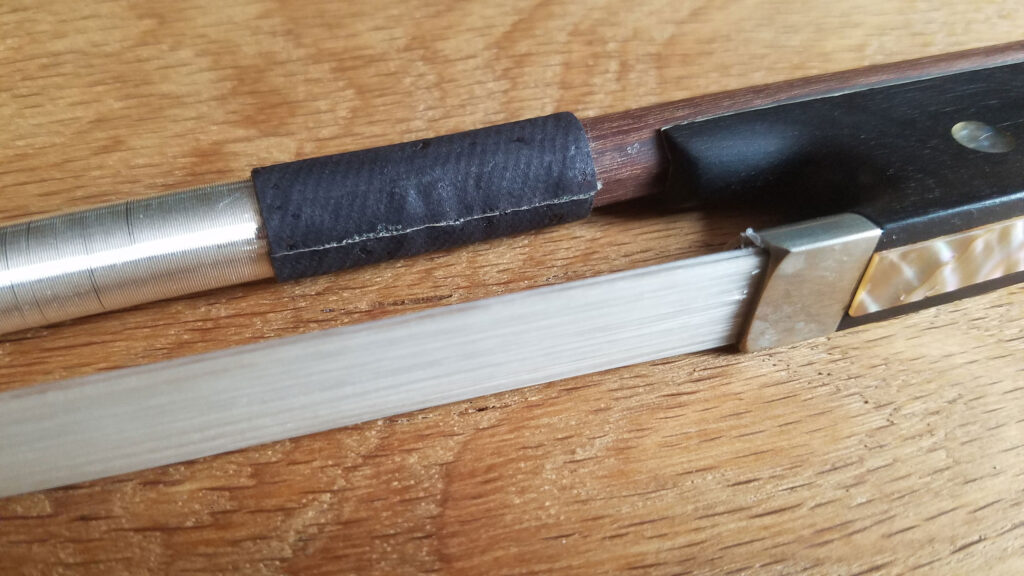
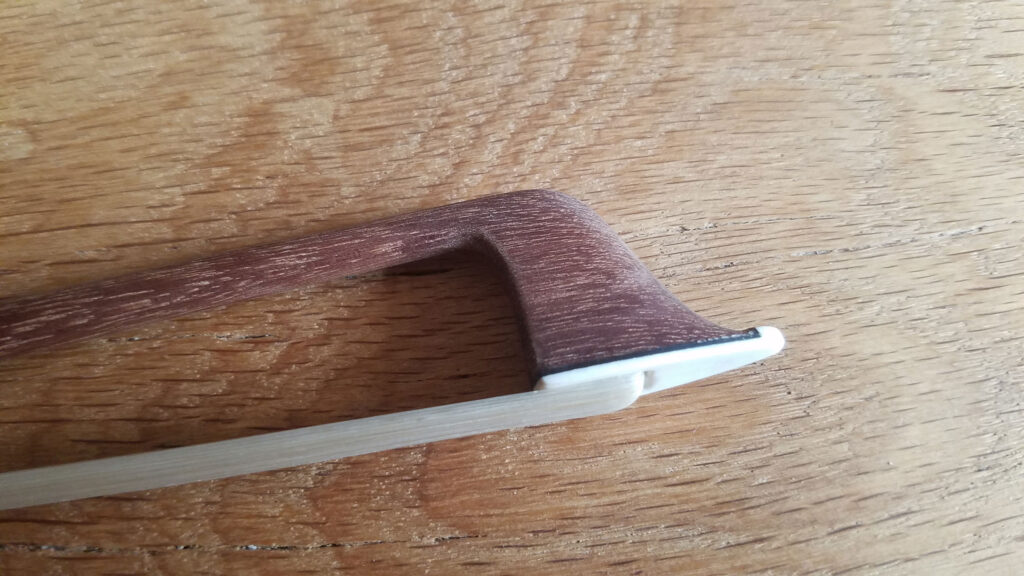
As you can see, the whole project turned out reasonably well. The hardest part, I found, was rehairing the bow. You have to comb the hair very patiently to get every strand running parallel, then keep making sure they don’t cross over again. After a while, though, I found a fairly good way to hold them in place.
The verdict? It’s not perfect, but I really enjoy playing with it. Since I didn’t revarnish the stick after sanding it, it feels lovely and smooth in my hand. Its sound is also a little sweeter and lighter than that of my other bow. It has therefore become my first choice for pieces played mainly on the A and D strings. For darker pieces, I still prefer my other bow, which produces a firmer sound and doesn’t flex as much when I apply more weight to the string.
In any case, it was a lot of fun!
Links
Finally, here are a few links to videos I found really helpful.
Bow Rehairing
If you ever fancy rehairing a bow yourself, I can recommend this four-part video tutorial. It’s wonderfully detailed, with clear explanations and easy-to-follow demonstrations.
Bow Making
Here’s another video showing the entire bow-making process. It’s in French, but even if you don’t speak the language, I think the images alone will give you a good idea of how a bow is made.
It certainly helped me understand how a bow is constructed and how to take it apart without breaking anything—and, even more importantly, how to put it all back together again. There are also a few useful techniques you can pick up just by watching.